Ready to try pouring resin into silicone molds? Get a quick and easy guide on the resin-making process to get you started and help you make extraordinary resin artwork based on my experience with resin molds.
Table of Contents
What do we need to prepare?
- Mold
- Resin (epoxy resin)
- Mold release agent
- Hot air gun
- Disposable gloves
- Disposable plastic cups
- Wooden sticks (popsicle sticks)
- Syringe
- Magnet (optional)
- Glue gun (optional)
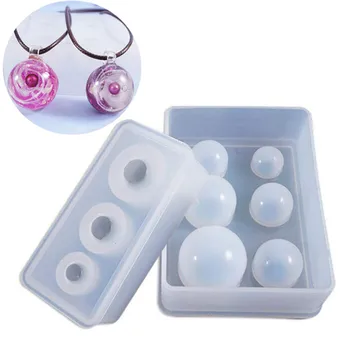
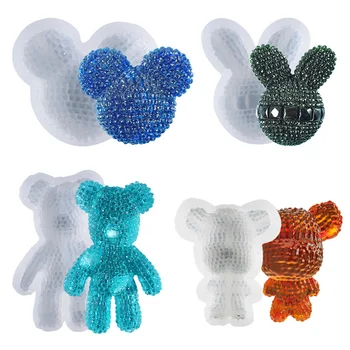
Step 1: Choose your favorite silicone mold
Silicone molds are available in very many shapes and sizes, and these are the resin molds we recommend for very creative purposes:
-
 2 Pcs/Set Necklace Pendant Starry Sky Sphere Resin MoldProduct on sale$6.50
 -
 Three-dimensional Diamond Violent Bear Rabbit UV Resin MoldProduct on sale$19.99
 -
 Crystal Mini Small Stud Pendant Cute Butterfly Maple Leaf Silicone MoldProduct on sale$4.99
 -
 Mickey Head for Dish Mirror Storage Box Resin MoldProduct on sale$6.66
 -
 2 Pcs/Set Heart Square Shape Box Jewelry Epoxy Casting Resin MoldsProduct on sale$8.50
 -
 Mushroom Storage Box Jewelry Box Mirror Silicone Resin MoldProduct on sale$12.00
 -
 DIY 3D Mannequin Jewelry Stand Mold Head Bust Display Storage Box Epoxy Resin MouldProduct on sale$9.00
 -
 2 Pcs/set Simulation Bird Three-dimensional Pendant Cute Creative Silicone MoldProduct on sale$8.00
💡Tips: Because silicon is a material that collects a lot of dust and other particles, you need to clean it before using it, so you need to wash the molds once before using them.
- Rinse the silicone molds with water and then place them in a washing basin to dry naturally.
- Place the molds on a napkin/paper towel and let the paper towel absorb the moisture from the molds.
- Also, place the mold on a work surface in a ventilated area.
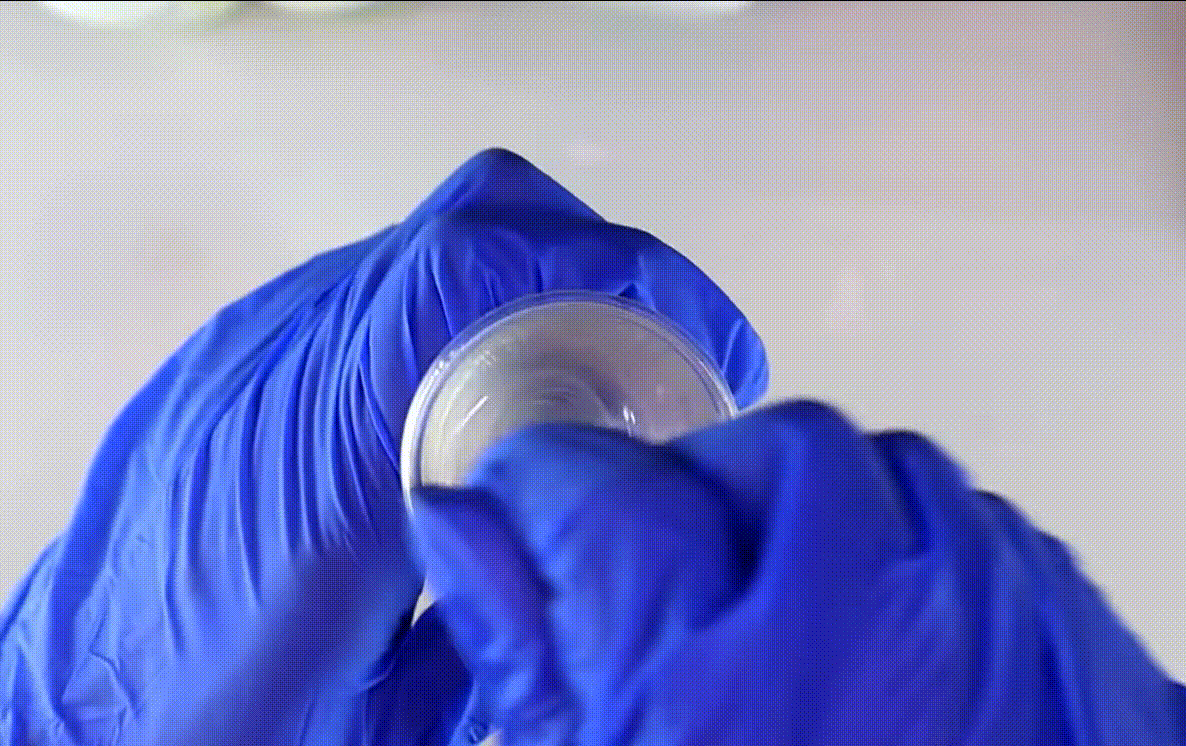
Step 2: Mix and pour in the resin
Now that your mold is ready, please put on your gloves, use a syringe to measure out the amount you need, ensure it’s the exact amount, and mix your resin by stirring it in the cup with a wooden stick. (Each brand of epoxy resin is different, remember to read the instructions on the label before stirring.)
It’s time to mix and pour the resin.
We recommend pouring the resins because they will release air bubbles. This means you will get a crystal straightforward resin project.
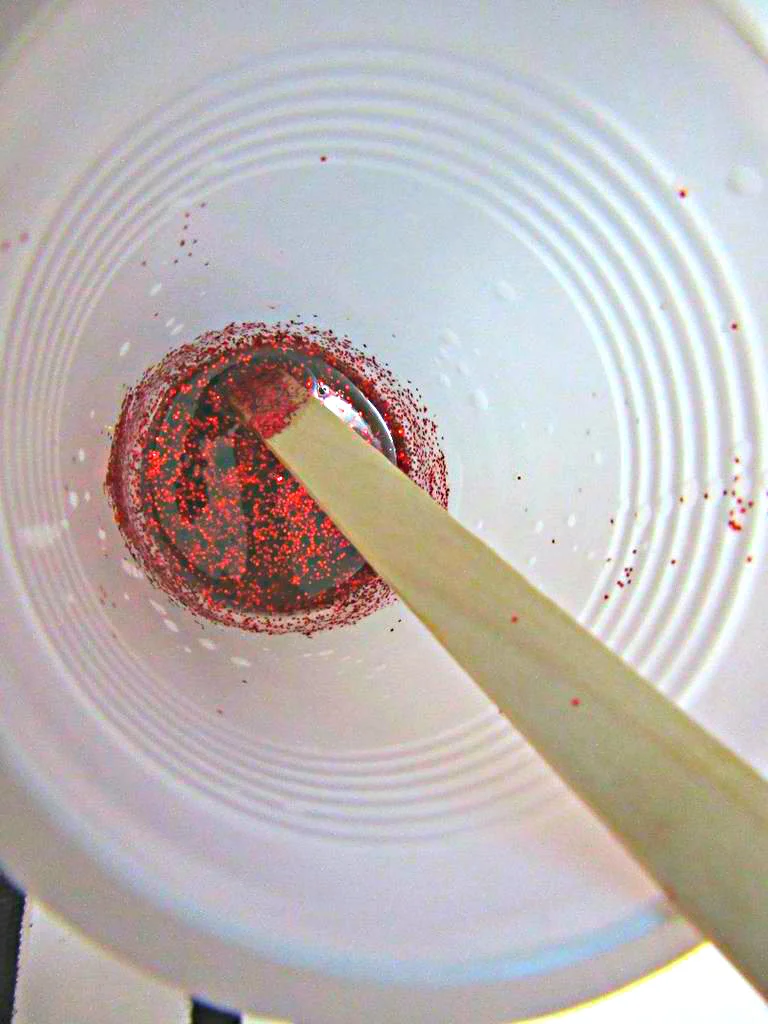
Step 3: Resin coloring
If you want your resin piece to look distinctive, we recommend you paint it. I’ve found alcohol inks or acrylic paints to be the most accessible solutions!
Alcohol ink is a relatively transparent color, but acrylic craft paint doesn’t make bond perfectly to every resin, so you’ll need to try it yourself to see which material works.
Of course, we also recommend that you choose to add some mica powder to embellish, which is also a good choice.
Step 4: Getting rid air bubbles
Heat gun to the resin surface slightly heated to make 1-3 seconds is the most convenient and effective method.
💡Tips: Click to see more 13 ways to getting rid air bubbles quickly.
Step 5: Place in the mold
Please pick up the disposable cup and gently pour it into the mold from the edge. You need to pay special attention to the surface.
If you want it to be thinner, do not introduce the resin until it is almost overflowing. Wait about 4 hours for the resin to set, and then you can put another layer of resin on top until you are satisfied with the thickness.

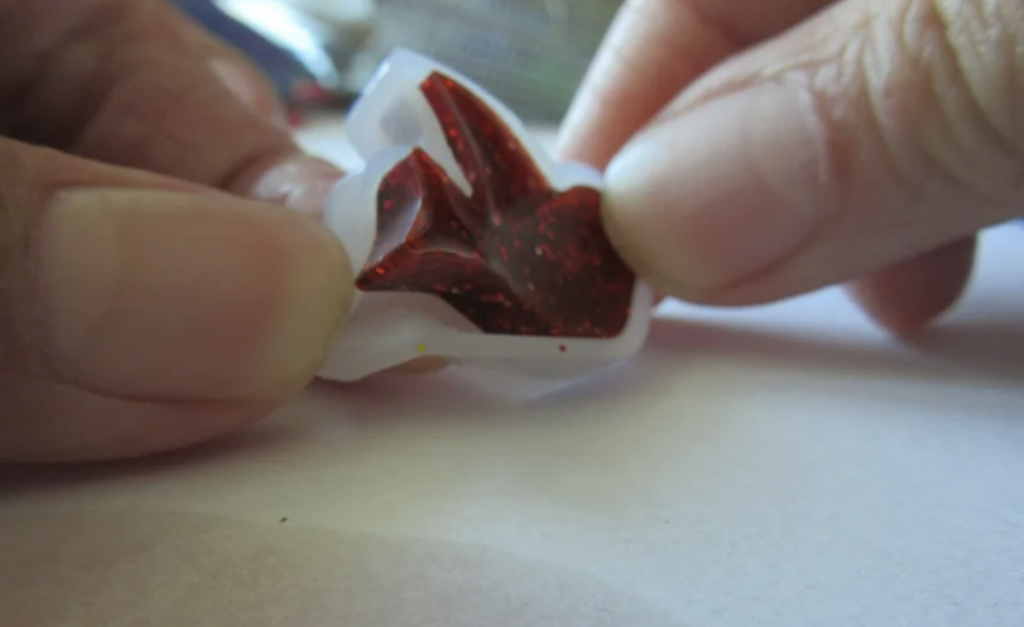
Step 6: Eject the resin piece
Peel the resin from the mold while grabbing the edge of the resin and carefully pop it out, do not tug hard on the sensitive parts as it may scratch your piece.
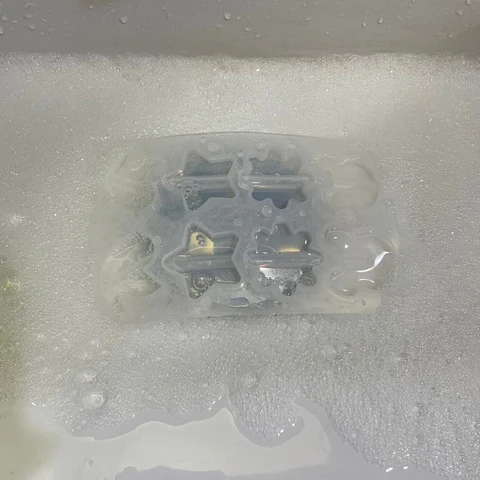
Step 7: Clean resin mold
Use a soft brush to clean the remaining residual resin, wash the mold with warm soapy water, pour out the excess water, and set it aside to dry afterward. Remember to keep away from direct sunlight.
💡Tips: Click to see more 6 Ways to Clean Resin Molds Quickly
Optional part – Step 8: stick the magnet
Use a hot glue gun to stick the magnet on the back of the resin piece.
Optional part – Step 9: Stick it on the fridge
Instead of a fridge sticker, stick the completed lovely craft on the fridge and see it daily! Makes one feel a sense of accomplishment!