Resin is a chemical substance that goes from liquid to hardening to form a shiny, rugged, waterproof substance. We’ll call you how to make resin jewellery with a few simple step-by-step tutorials! You will learn the easiest and quickest resin jewellery molds and different ways to make epoxy resin pendants, necklaces, earrings and DIY resin jewellery with borders, and some beautiful inspirational resin pieces.
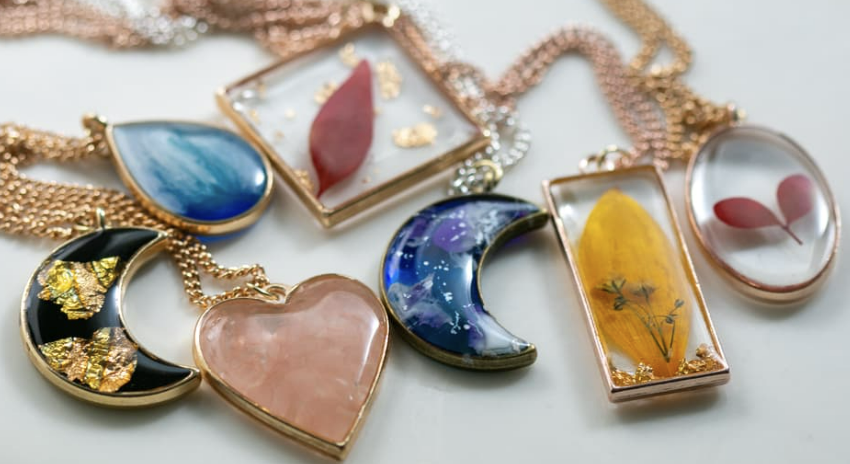
Table of Contents
DIY resin jewelry for beginners
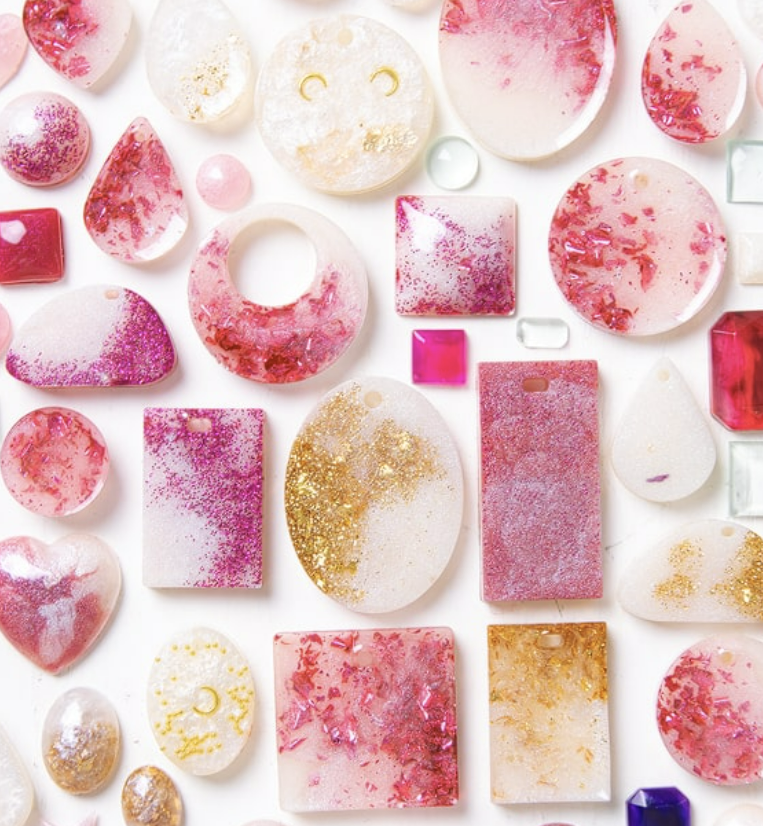
If you’re looking for a resin craft project that’s not only fun but also wearable, congratulations, you’ve come to the right place! You’ll love this DIY resin project and share it with your friends! You can make tree jewellery to fit your style. You can make some unique resin jewellery for your family or friends.
What do I need to prepare to make resin jewelry items?
This is the list of tools you need to make resin jewellery.
You must prepare suitable materials to complete your resin pieces as a beginner or a resin professional.
- Resin jewelry molds (resin pendant, earring and ring molds)
- Resin
- Hardener
- Wooden stick (to mix resin and hardener)
- Heat gun or lighter (to eliminate air bubbles)
- Measuring cup (to measure the right amount of mixture)
- Mica powder (decorative colours)
- Decorations (dried flowers)
- Toothpick (to pierce air bubbles and move dried flowers, and decorations)
- Tweezers (to hold dried flowers or other decorations)
- Mask (to prevent inhalation of any resin gas)
- Gloves (to protect your hands from contact with resin)
- Old newspaper (to cover the work surface and prevent spilt resin)
We recommend choosing a resin with a thinner consistency for making small resin ornaments for jewellery and wall hangings, which helps with the tiny bubbles that appear in your work.
It is imperative to make it in a well-ventilated room if possible and use safety equipment to protect your skin, eyes and lungs.
These are the popular recommended resin molds for jewelry items in our store:
-
 12Pcs/Set Round Star Heart Wax Expoxy Jewelry Resin MoldProduct on sale$20.99
 -
 6Pcs/Set Rectangle Necklace Keychain Pendant Mold ResinProduct on sale$12.55
 -
 Resin International Chess Shape Pendant Molds For JewelryProduct on sale$9.65
 -
 Resin Jewelry Rhombus & Tear Water Drop Shape Pendant Necklace Mold KitProduct on sale$6.66
 -
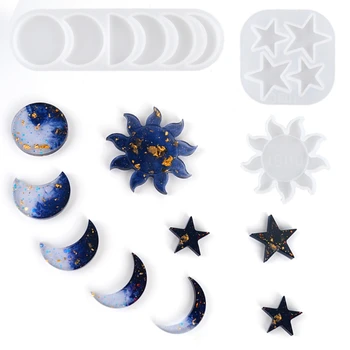 3Pcs/Set Moon Sun Star Resin Casting Mold Home DecorProduct on sale$9.99
 -
 6Pcs/Set International Chess Resin Mold DIY Crafts JewelryProduct on sale$8.88
 -
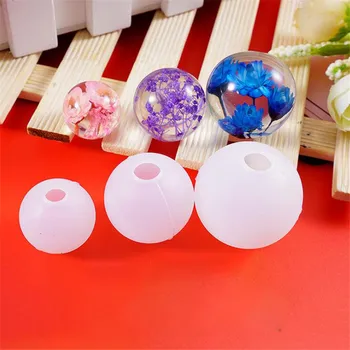 3Pcs/ Sphere Jewelry Silicone Resin Casting Molds KitsProduct on sale$11.10
 -
 4Pcs/Set DIY Epoxy Mold Bracelet Bag Handle MouldProduct on sale$13.95
Setting up the workbench
- Make sure your workbench is clean and tidy, and free of dust. Cover your workbench with old newspaper or other paper.
- Lay out all needed supplies on the countertop.
- Bring a mask and gloves.
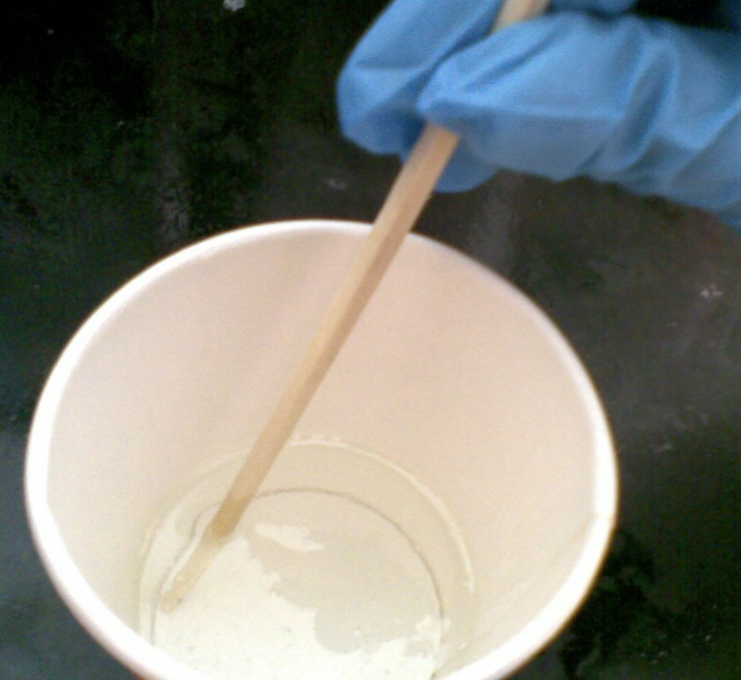
Mix resin and hardener
Use a measuring tape to mark a disposable plastic cup and mix the epoxy resin and hardener together in a 1:1 ratio. Measure out the right amount of the mixture and pour it into the cup, then stir slowly with a wooden stick until the resin and hardener are no longer textured and look very clear.
💡TIP:
- Other resin brands may have different mixing ratios. Please read the instructions before use.
- Stir slowly to avoid the formation of air bubbles.
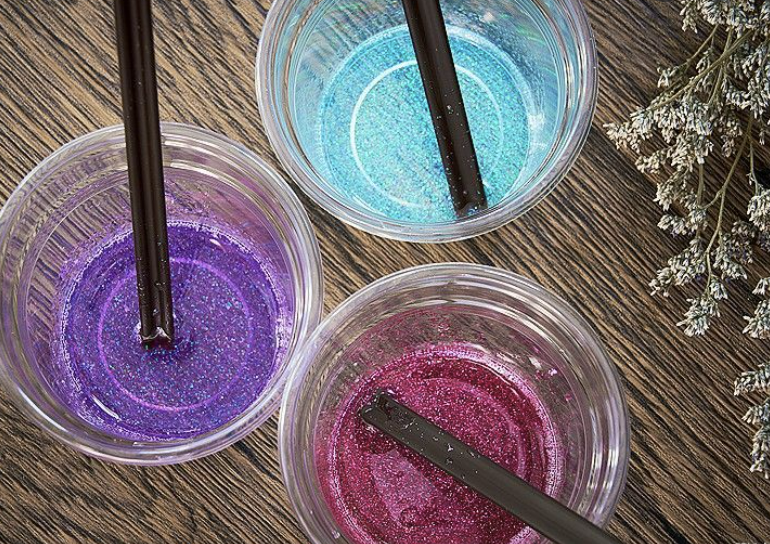
Resin Adding Color
You can use mica powder or alcohol ink for colouring.
Stir with a wooden stick to make the mica powder evenly dispersed in all corners.
Prepare your molds, borders and decorations.
Before pouring the resin, ensure you have all the necessary items. Choose your borders, molds or shells, and prepare dried flowers or other decorations in advance. Once you have prepared the resin mixture, you don’t want to prepare it from scratch.
Pour in the first layer of resin
Next, carefully fill the measuring cup with resin into the mold. If you are pouring into a pendant mold, ensure the resin does not cover the small holes in the pendant.
Small jewellery molds require two to three layers of resin, and pouring multiple thin layers of resin helps to alleviate bubble formation. Dab a decorative object, such as a dried flower, before pouring the second resin layer.
💡TIP: If you find tiny bubbles on the resin surface, pierce them with a toothpick. If some bubbles are difficult to pierce with a toothpick, sweep a heat gun or lighter across the resin surface to heat the bubbles and make them pop out. See 13 other ways to Getting Rid of Resin Bubbles here.
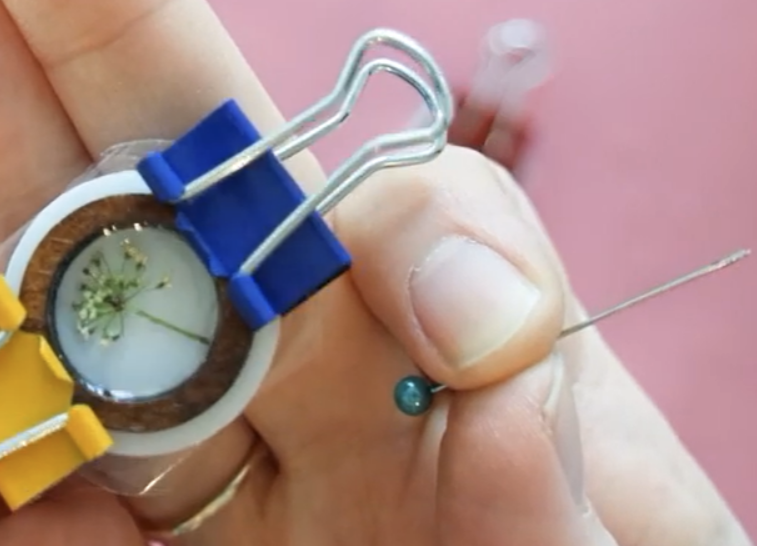
Place the decorations in the resin
Now you are ready to pick up the flowers or other decorations with tweezers and gently place them on the first layer of resin. If the position is not ideal, you can adjust the pushing position with a toothpick.
Pouring the second layer of resin
Wait for 5~6 hours. You don’t need to wait until the first layer of resin is very hard, but it should be relatively cured and dry, wait for the first layer of resin to cure slightly before pouring the second layer of resin.
Cure the resin and remove it from the mold
After waiting 24 hours for the resin to fully cure (your resin brand will indicate exactly how long it takes to cure), start pushing the resin out from the edge of the mold until it is wholly popped out.
🔥TIP: If you find any spillage around or beyond the mold, use scissors to cut off the excess and sand the rough edges with emery paper until smooth.
Assemble the resin jewelry
Next, you will need earrings or necklaces to add hooks and clasps to assemble your resin jewellery and a small tool to punch holes in the resin or shell.
Now you have learned how to make resin jewellery from flowers! Start having fun with resin!